When I have built my tube amplifiers, I have winded a few mains transformers. It can be done to suite tubes with uncommon heater voltages and you can tailor the high tension part to suite your design perfectly. It can also save you some money and most importantly, it can be fun! I thought that I should share what I have done.
I am not an electrical engineer. I am just hacking this! But the approach described here has produced working transformers for me.
The usual caveat: working with high tension is dangerous. Don't try this, if you don't have the skills for working with high tension. Some more reading on this subject:
http://www.diyaudio.com/forums/tubes-valves/30172-safety-practices-general-ultra-high-voltage.htmlFirst, you need to figure out how much power you need and what wire to use. Here is data on how much current wires can handle:
http://www.powerstream.com/Wire_Size.htm A part of the table of interest looks like this:
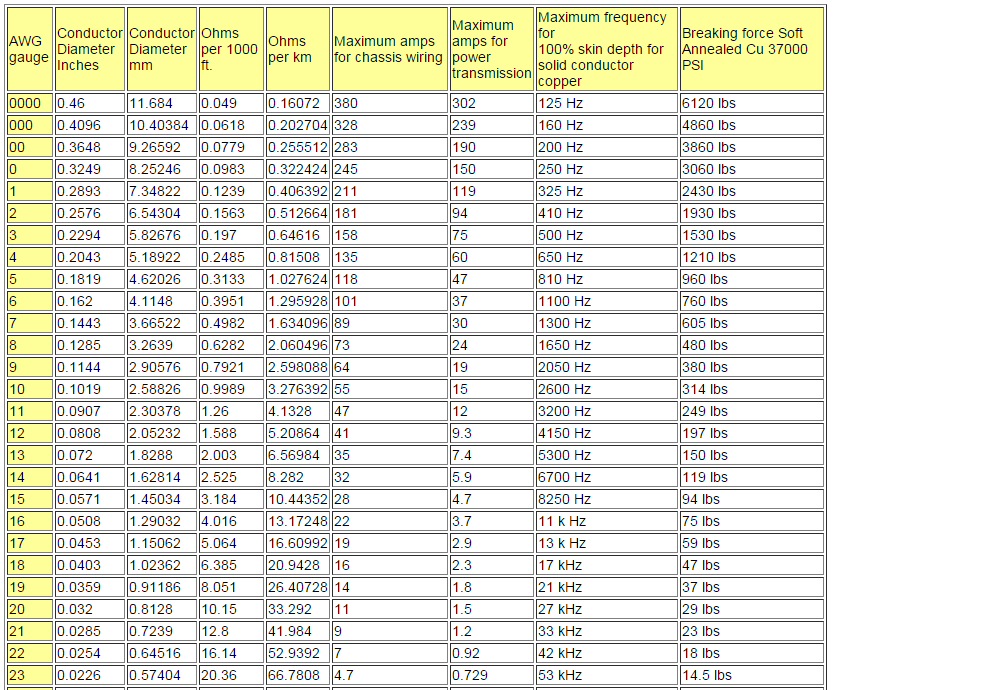
The value applicable for transformer winding is found in the column "Maximum amps for power transmission".
For example, I am going to build an amplifier with a 5U4 rectifier, two 6A6 drivers and 2A5 power tubes. For this, I need the following power:

Selecting wires from the table that can handle the currents gives:

The selected wires can actually handle a bit more current than required, which is reflected in the last row, "I capacity". The total power is 67 W. How large transformer do you need for that? You can do the maths (read about it here:
http://ludens.cl/Electron/Magnet.html) or have a look in this list:
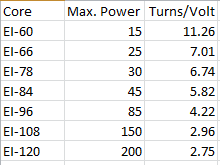
If you have, like me, a primitive set up for winding, the windings will not be perfect and may waste a bit of space on the bobbin. Therefore, you want to have a bit of margin, when choosing the size. In this example, IE96 seems like a comfortable choice.
How many windings do you need on the primary? Again, you can do the maths or look in the list above. Take your mains voltage and multiply it with the number of windings per volt. I have 230 V in the mains, so I need 230 * 4.22 = 971 windings. The transformer should deliver 67 W. The current in the primary winding is therefore 67 / 230 = 0.29 A. A suitable wire for that is AWG 26 with 0.4 mm diameter.
You need a bobbin and iron. A split bobbin that separates the primary and the secondaries is best for safety.
You also need transformer iron. It usually comes in E- and I-laminations. If you are lucky, you have a local supplier for transformer iron, because it is not fun to pay international postage for heavy stuff like this. If you have no such luck, you may be able to find an old scrap transformer to use for parts. Hopefully, it has not been soaked in varnish and can then be taken apart without too much effort. However, to get the first lamination out may require a bit of force.
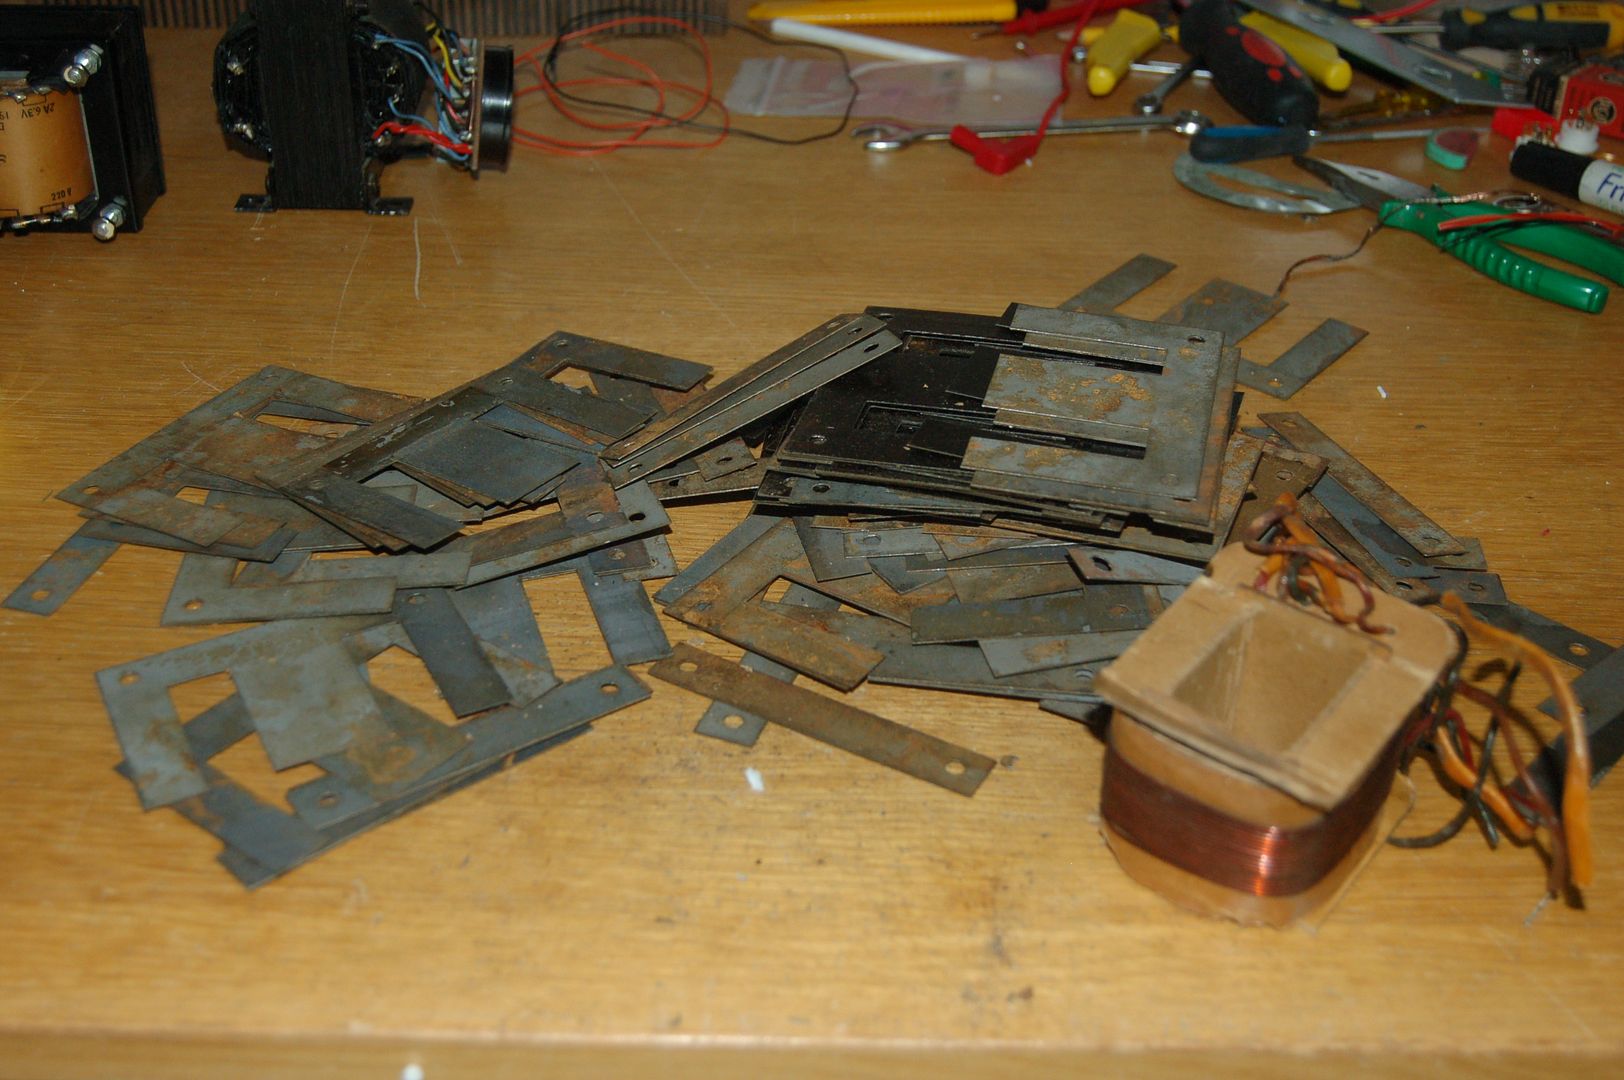
Currents are created in the transformer core when magnetised, which leads to losses. To reduce them, the core is divided in laminations that are electrically isolated from each other by painting them. In my old scrap transformer, the paint fell off on most laminations, when I took it apart. Therefore, I needed to paint a thin layer on both sides of them:
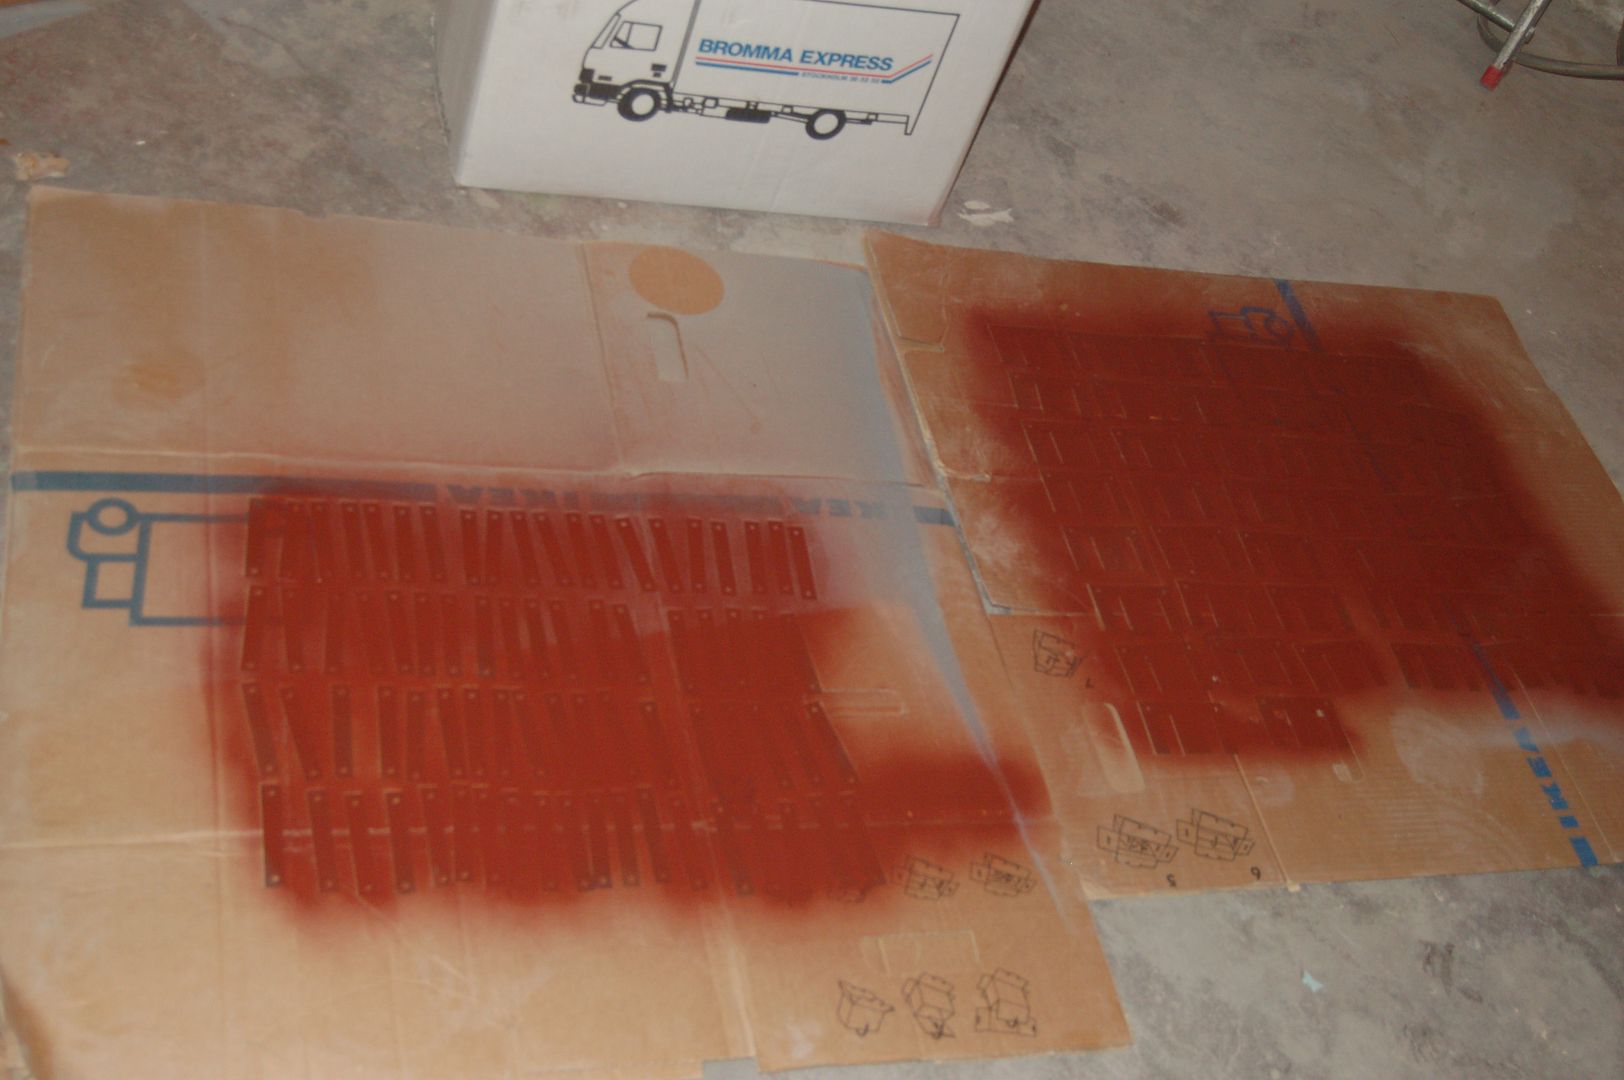
Don't worry if there are scratches in the paint. It does not need to provide perfect isolation.
Then, it is winding time! This is my primitive set up:
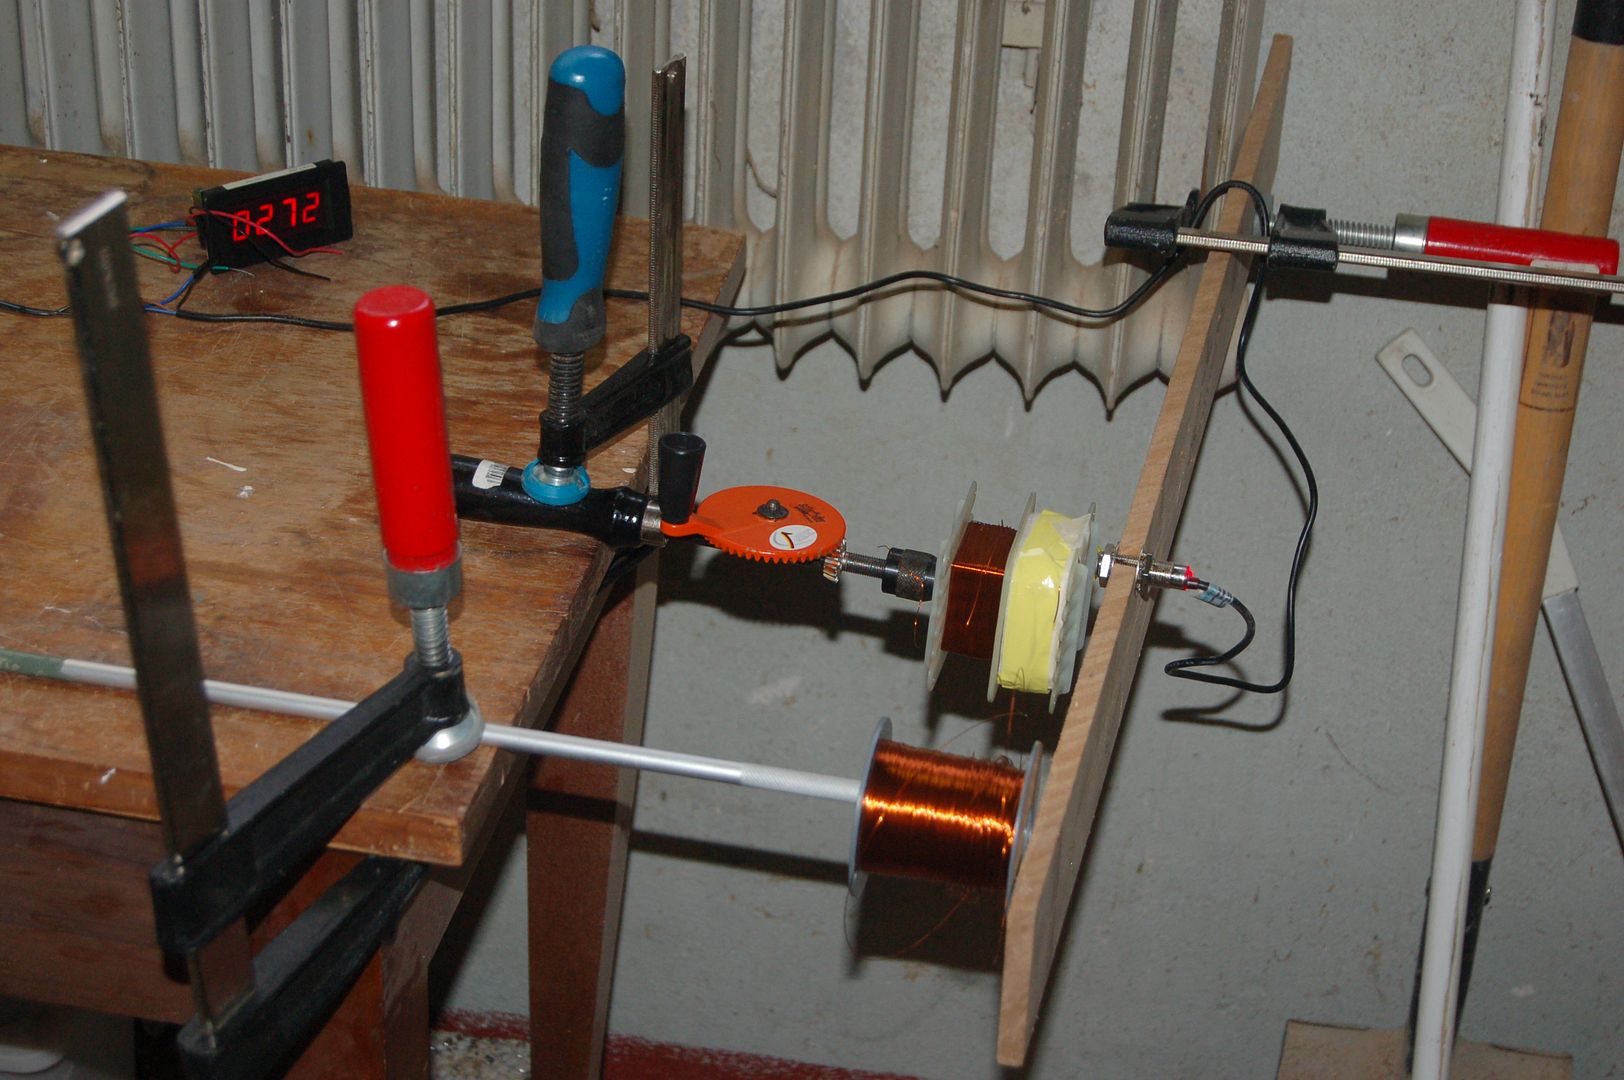
I wind the primary and the high tension sections with this, while doing the heater windings manually. Guide the wire with your hand and keep some tension in it. You can count the turns manually, but I bought a cheap counter from China for $16:
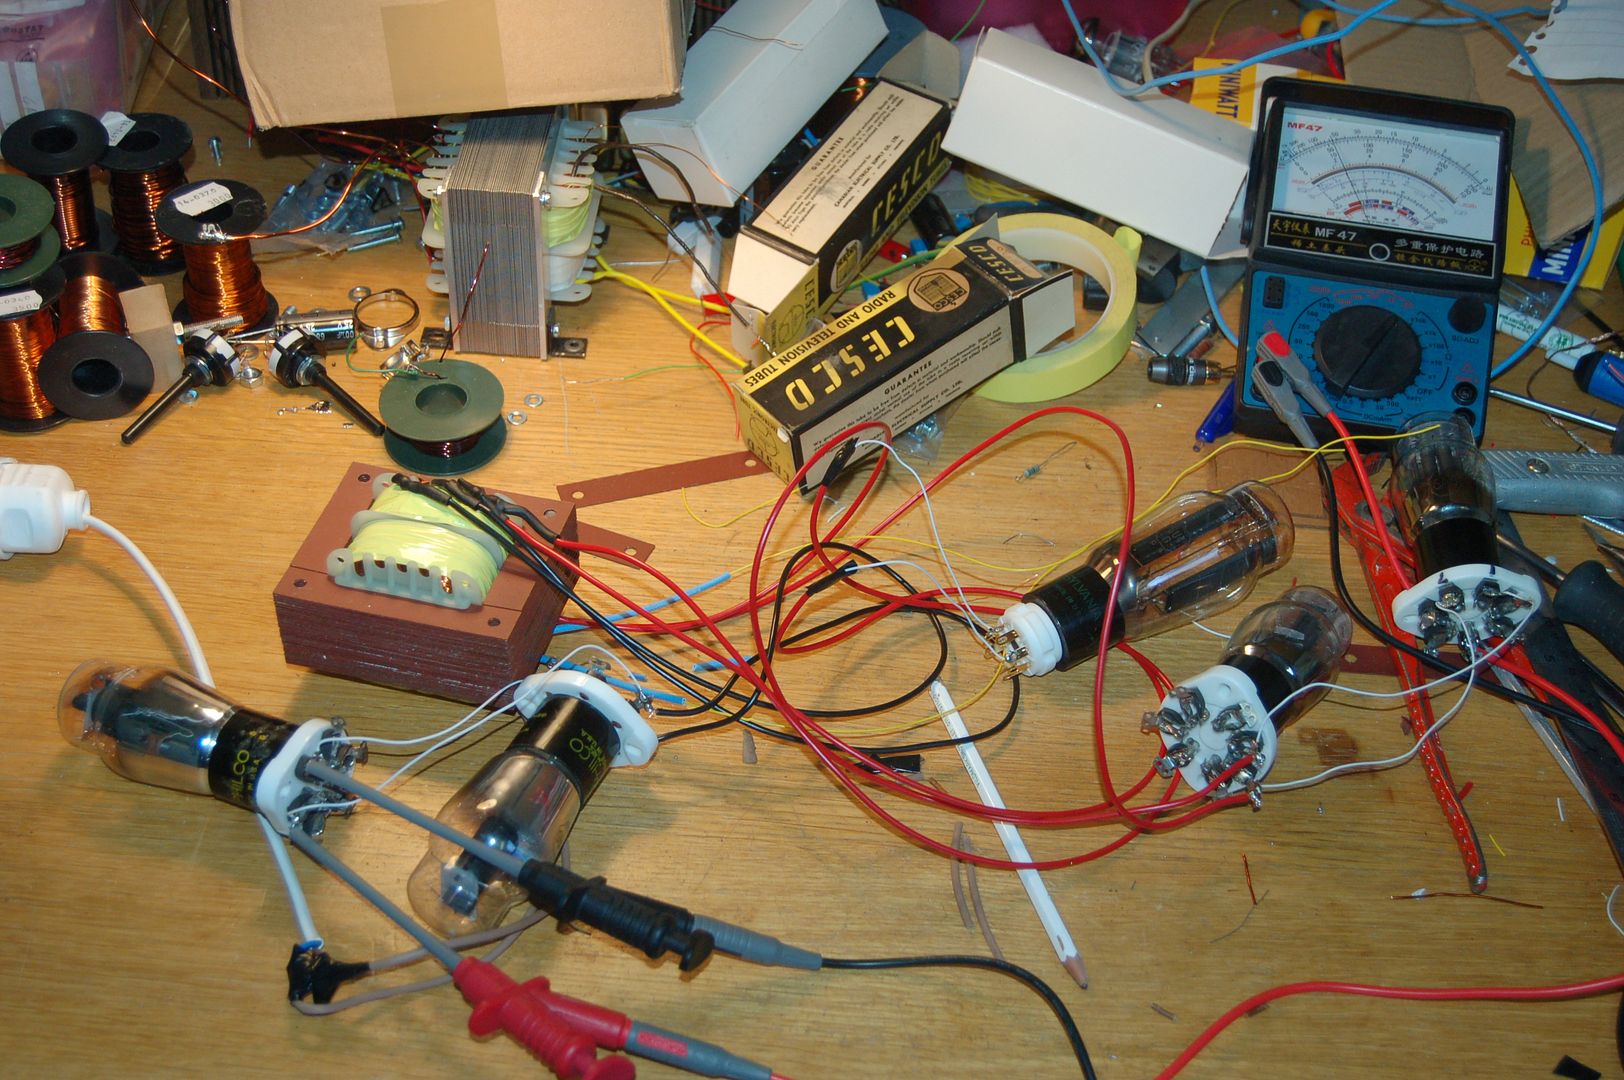
http://www.ebay.com/itm/261536919678?_trksid=p2057872.m2749.l2649&ssPageName=STRK%3AMEBIDX%3AITAfter finishing each winding, I test it with the load that I will use. I assemble the core in large chunks without screwing it together. The load for the high tension part is done with a resistor and for the load for heater winding, I use the tubes that it will supply. If the voltage is too high/too low, I add or remove windings until I get it right. Note that the transformer will buzz loudly when it is slapped together like this.
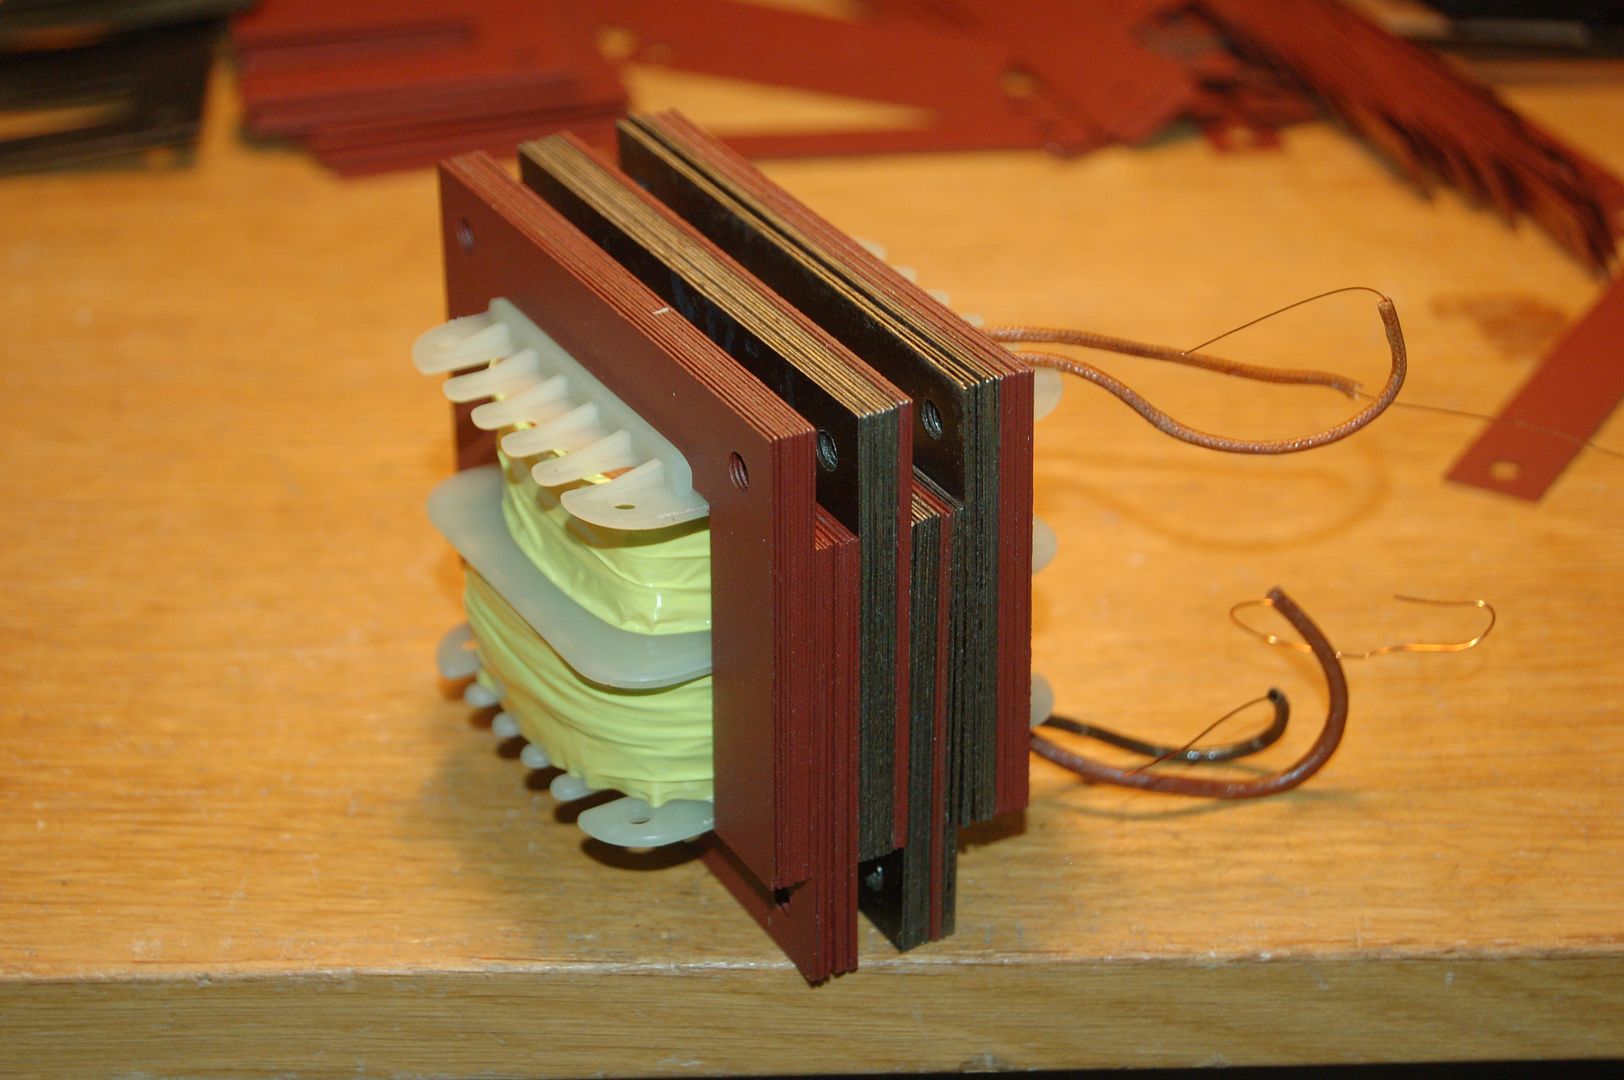
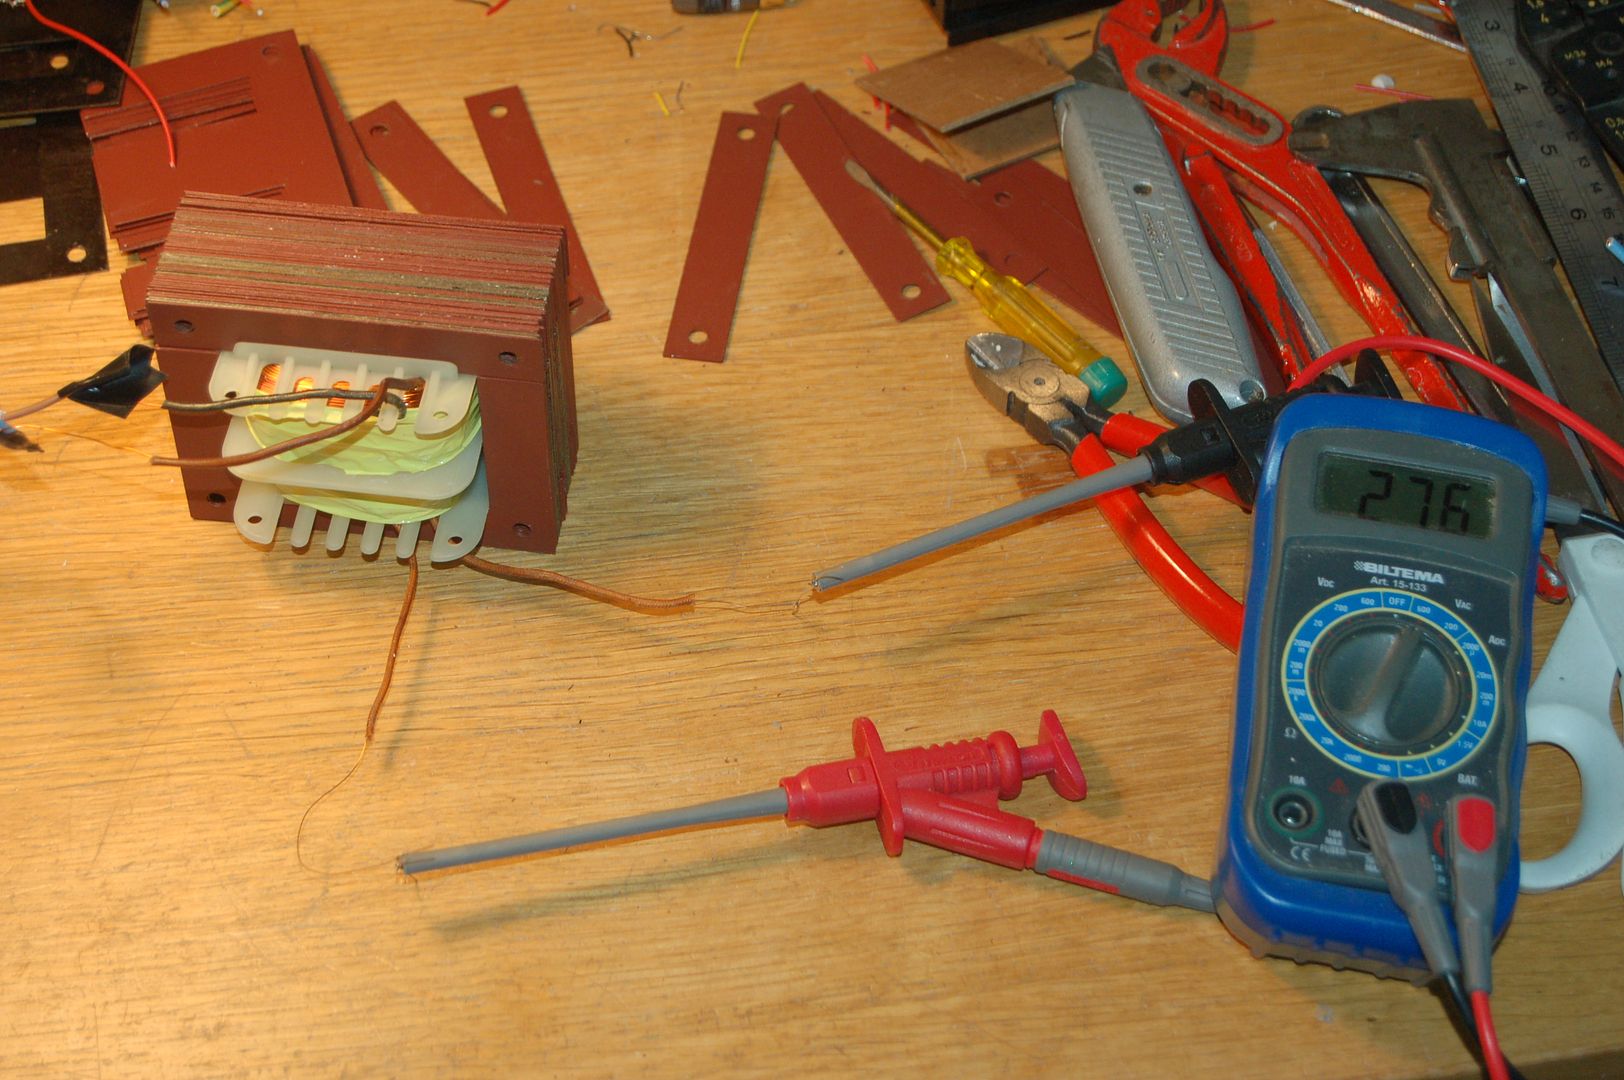
When it is time for the final assembly, insert the E-laminations in different directions for every layer:
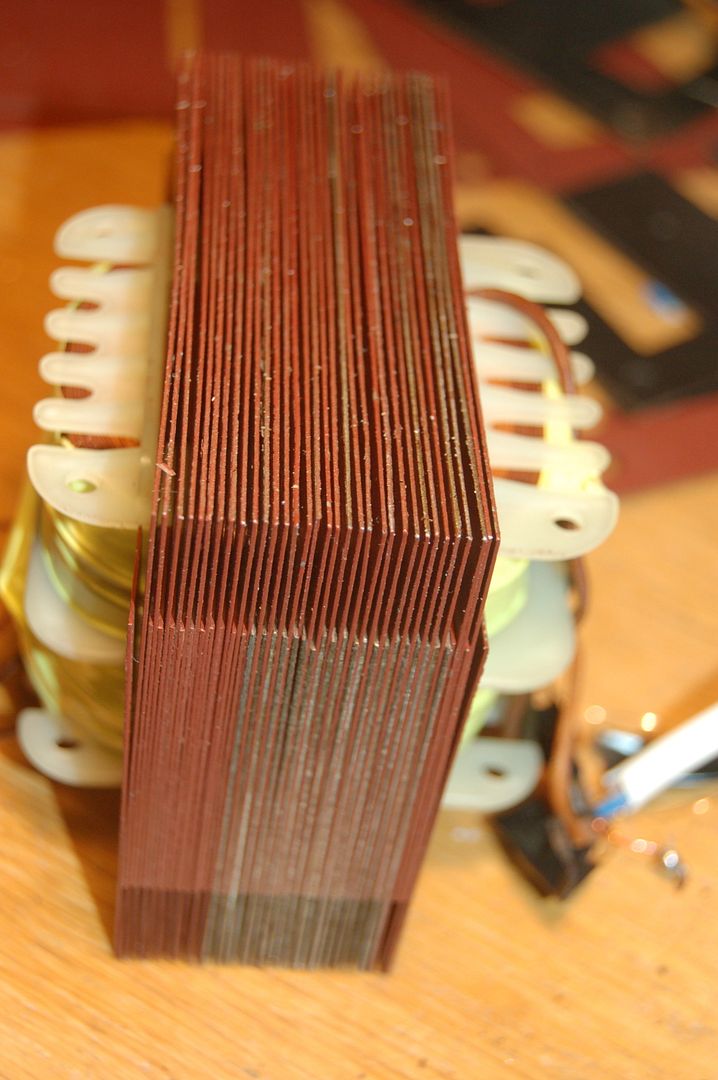
Then, press the I-laminations into the remaining spaces:
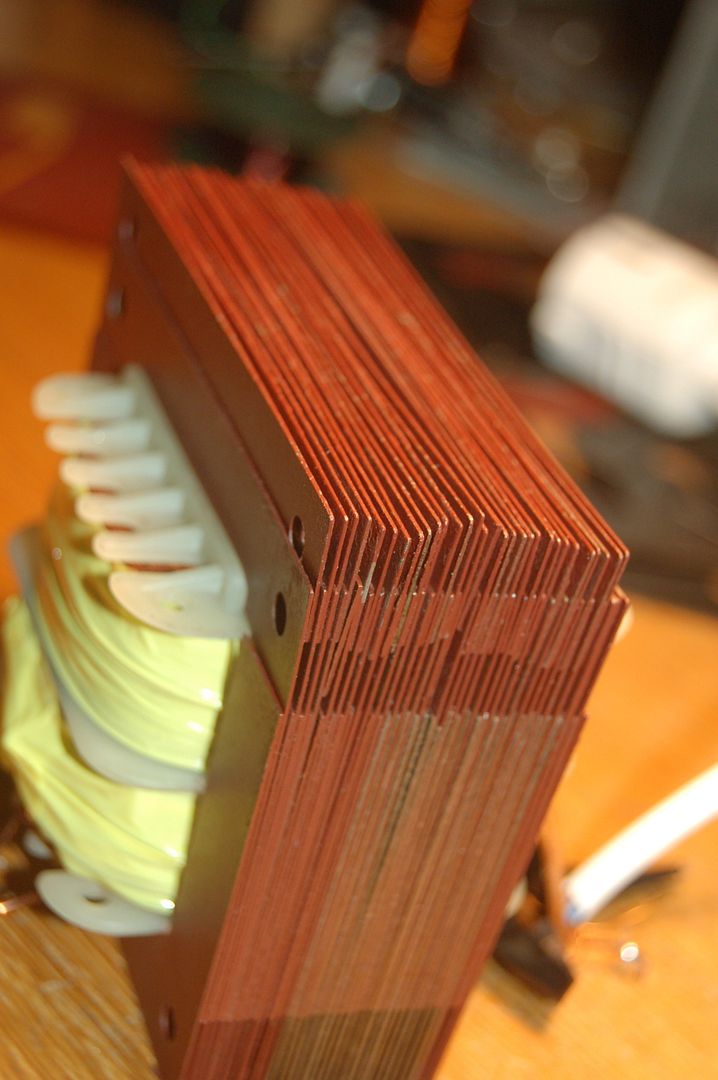
Hammer them into place:
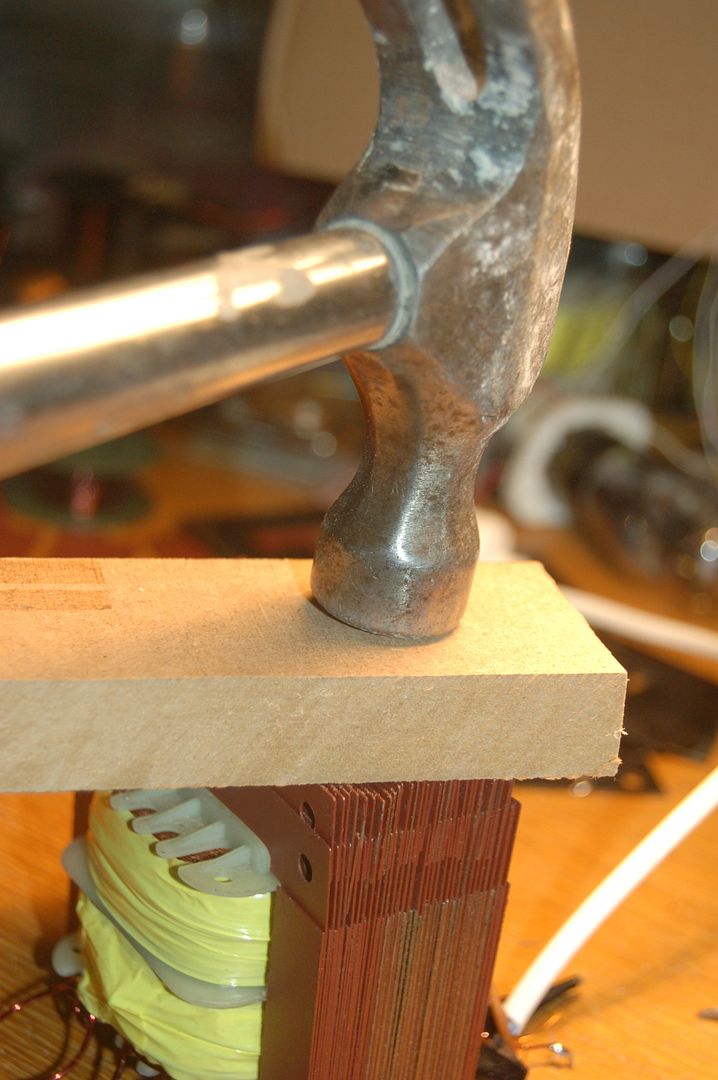
After that, make a final test, loading all the secondaries, measuring the voltages again. Leave it running for an hour. If it does not overheat, you have got it right!
After that you need something to hold the outer laminations into place and screws to tighten the laminations together. For the transformer in this example, used a transformer cover:
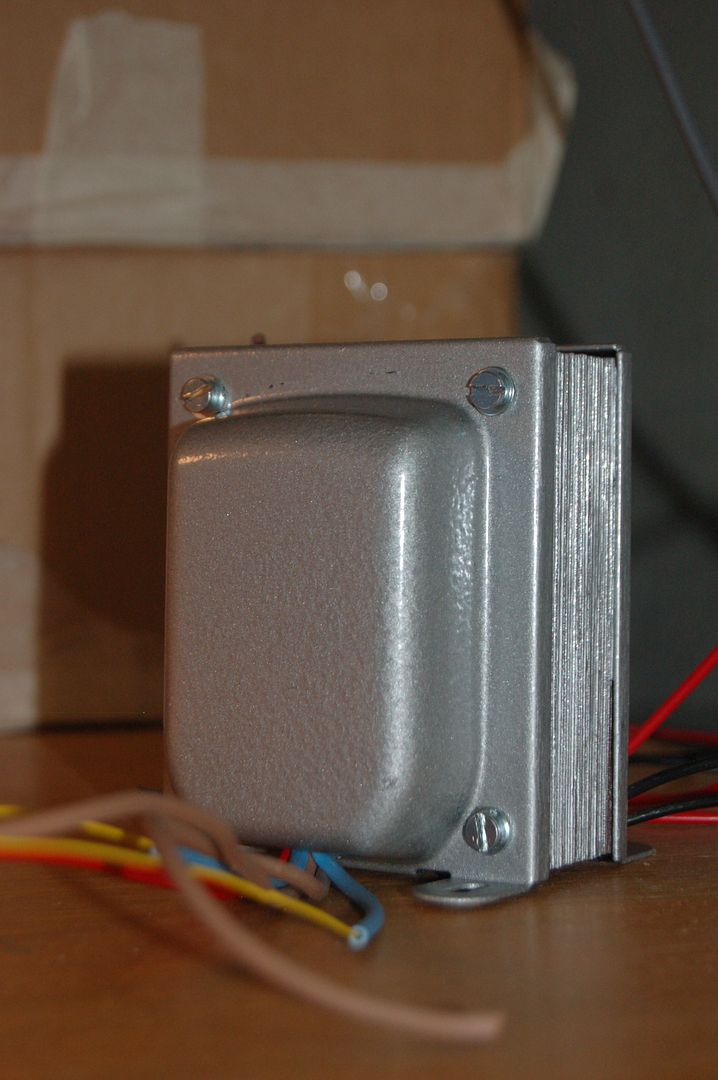
If you are not using a transformer cover, you can use some metal bars to hold the transformer together.
If you want to be torough, insulate the bolts before inserting them through the core. This is to aviod making electrical contact between the laminations. I roll a thin piece of paper around the bolts.
Now, you have got yourself a nice transformer that matches your needs!


